one
.Ready to work1. Brush the inside of the distilled water before use and replace the water with the overnight water.
2. Close the drain valve
3. Prepare enough clean containers to drain the distilled water from the nozzle.
Second, the operation steps
1. Connect the water source to the inlet pipe of the distilled water to allow the water to enter the condenser. Then inject the evaporation pot from the return pipe. Until the water level rises to the center of the glass level gauge.
2. Turn on the Power Supply, and then open the large inlet valve after the water in the evaporation pot boils.
3. Adjust the size of the water source to maximize the amount of distilled water.
4. In order to ensure the purity of the effluent, the water is discharged from the outlet for ten minutes before the distilled water is used.
Three. Notes
1. The scale inside the distiller should be removed frequently to avoid affecting the production of distilled water and shorten the service life.
2. Care should be taken not to scratch the tin plating on the surface when washing.
3. Newly purchased distilled water should be cleaned first and evaporated for more than 2 hours until the distilled water meets the requirements of the Pharmacopoeia.
1. Instrument operation:
1. Stacking
Wrap the items to be sterilized, and then place them on the sieve plate in the sterilizing pot sequentially. Appropriate gaps should be left between the package and the package to facilitate the overflow of cold air and the penetration of steam in the sterilization barrel. Improve the sterilization effect.
2. add water
Add 4L of clean water to the main body of the sterilizer, and gradually evaporate during the flood sterilization process, and the water surface will be reduced accordingly. Therefore, before each sterilization, the amount of water should be replenished into the main body of the sterilizer to prevent the electric heating tube from dehydrating and burning, and damaging the electric heating tube.
3. seal
Place the sterilization barrel into the main body of the sterilization pot, insert the hose on the lid into the semi-circular groove on the inner wall of the sterilization barrel, and close the lid. The bolt grooves on the cover are aligned with the main body, and then the oppositely oriented wing nuts are sequentially inserted into the grooves to be evenly tightened so that the cover is in close contact with the main body.
4. heating
Insert the sterilizer power plug into the 220V external power Socket , turn the power switch to the “on†position, the power indicator light will be on, the electric heating tube will start to heat up, and then the bleed valve wrench will be set to the “de-discharge†position. When the steam is ejected, the deflation valve wrench is turned to the "closed" position, and the gauge pointer is slowly rotated clockwise, indicating that the pressure in the sterilizer is gradually rising and the temperature is increased.
5. Sterilization
When the pressure in the sterilizer reaches the desired range, the time required for sterilization is 15 minutes.
6. dry
For items that need to be quickly dried after sterilization, the steam in the sterilizer can be quickly discharged through the deflation valve at the end of sterilization. When the pressure gauge pointer returns to the “0†scale, wait for 1-2 minutes. The rear cover is opened. After opening the lid, continue heating for another 10-15 minutes to evaporate the residual water vapor on the item, then turn the power switch to the "off" position to stop heating.
7. cool down
After sterilization of liquids such as culture medium, do not quickly discharge the steam in the sterilizer through the venting valve to avoid dangerous accidents such as overflow or bottle rupture. Therefore, after the sterilization of such sterilized articles, turn the power switch to the "off" position, stop the heating, wait for it to cool until the gauge pointer returns to the "0" scale, wait a few minutes before The bleed valve is pulled to the "de- ing" position. Then you can open the cover.
8. A residual thermometer, sterilization indicator or bacterial culture method should be used frequently to check the temperature and time required for sterilization to obtain a reliable sterilization effect.
Second, matters needing attention
1. Before each use, it should be checked that there is 4L of water in the main body, and the water level exceeds the electric heating tube.
2. When sterilizing the liquid, the liquid should be filled in a hard heat-resistant glass bottle, and the volume of the liquid should not exceed 3/4 of the volume of the glass bottle. The mouth of the bottle was stuffed with cotton gauze and wrapped around the bottleneck with a gauze. Never use unpunched rubber stoppers and cork stoppers to prevent glass bottles from bursting.
3. At the end of sterilization, if the pressure gauge pointer has returned to zero position and the cover cannot be opened, the bleed valve wrench should be set to the “de- vent†position to allow outside air to enter the sterilizer. cover.
4. After the pressure gauge has been used for a long time, if the pressure gauge pointer cannot return to the zero position, it should be repaired in time. Normally, it should be regularly checked with a standard pressure gauge. If it is not normal, it should be replaced with a new one.
5. After the sterilization is finished, the lid must be opened, the gauge pointer must be at the zero position, and the bleed valve wrench should be set to the “de- ing†position.
Previous:As part of asphalt fatigue testing machine equipment? -Huaqiang Electronic Network
Next: UV-1100 spectrophotometric method for rapid measurement of peroxide content of oxides in edible oils - Master's thesis - Dissertation
Related reading power supply power outlet switch power switch indicator
- • [New product broadcast] 1N212 2016-08-10 14:18
- • [New product broadcast] 1N203 2016-08-10 14:18
- • [New product broadcast] 1N202 2016-08-10 14:18
- • [New product broadcast] 1N194A 2016-08-10 14:18
- • [New product broadcast] 1N78C 2016-08-10 14:18
- • [New product broadcast] 1N76C 2016-08-10 14:18
- • [New product broadcast] 1N58A 2016-08-10 14:18
- • [New product broadcast] 1N56A 2016-08-10 14:18
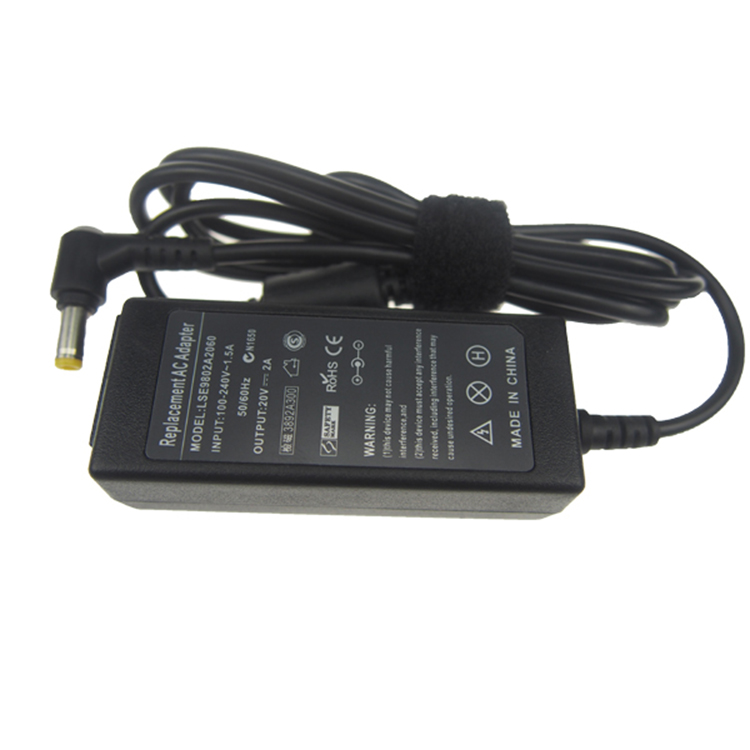
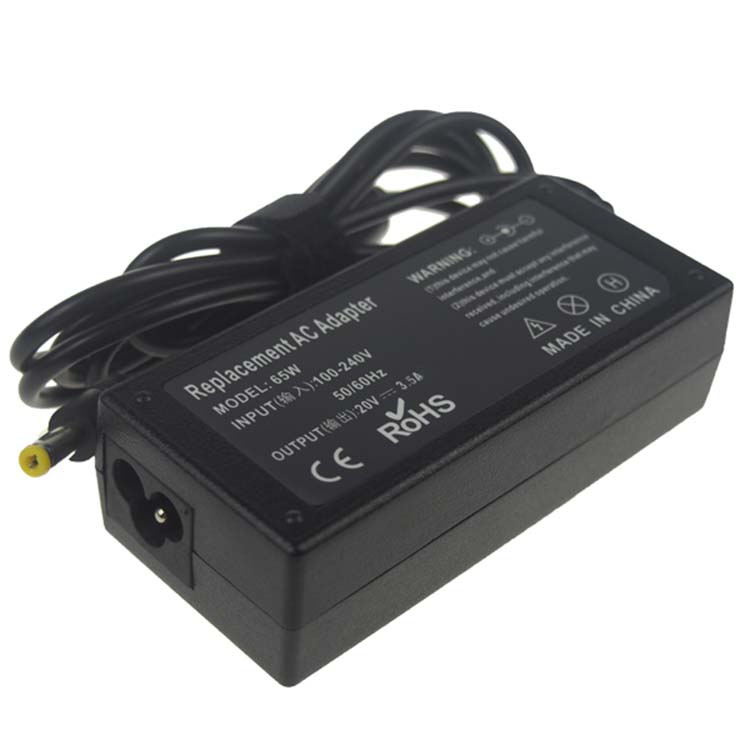
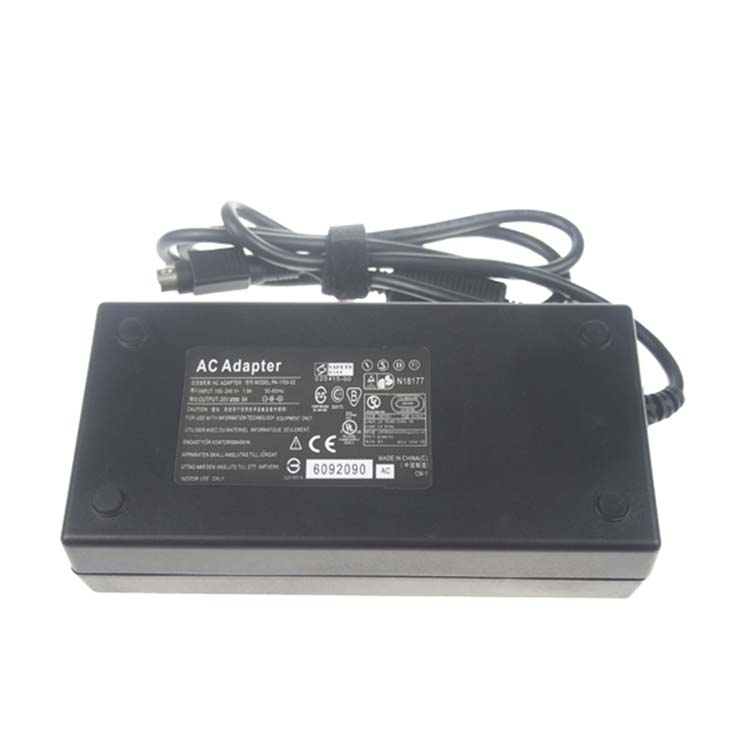
Yidashun offer replacement Laptop Charger for LS, the OEM LS power Adapter 100% compatible works for your LS notebook PC, meets or exceeds the original adapter!
Our adapter are with smart IC to protect your laptop with over current protection, over load protection, short circuit protection, over heat protection. If your family LS adapter is broken, please kindly check your laptop model and confirm the model you need, you can choose OEM replacement models for recharge your laptop! Yidashun offer wholesale factory direct prices at 1 year warranty!


LS Laptop Charger,LS Computer Charger,LS Notebook Charger,LS Laptop Battery Charger
Shenzhen Yidashun Technology Co., Ltd. , https://www.ydsadapter.com