Have to use the brush firmware to search for tools:
1. DriverAssitant_v4.3_3368.zip (this is the driver
2. Easy root RK3688& TWRP for RK3368 (This is Brush Tool + TWRP Recovery, this is the need for this recovery package
3. ROM Assistant http:// (This is a tool to unpack and package the Flash ROM
This is the brush tool link of RK3368: http://pan.baidu.com/s/1mhm85YC Password: kgyk (drivers and flashing tools are all inside) Well it can be started.
The first step is to install the driver so that you can enter the bootloader. What is the flashing mode? How to enter the system? There is a system upgrade in all the applications.. Click that to start the recovery mode, and then there is a boot to the bootloader in the original recovery. The menu..it can enter the brush mode
After the USB cable is connected, it will prompt to find the device.. Install the driver on the line..
The second step is to run the AndrodTool Brush Tool in the "Advanced Functions" right of the "export image" starting sector input: 0xB2000 number of sectors input: 0x00200000
Click "export mirror".. This will be able to export the ROM system partition to a file, the default export to the Brush tool directory Output folder
The third step is to run the ROM assistant and select "ROOT" under "Edit Brush Pack", click the "Select Brush Package" on the bottom right, add the img of the system partition just exported, and click "Start Loading".
After the loading is complete... it seems to be on the "Edit permissions" page... you can browse to the system package's file directory and find the file under the directory /system recovery-from-boot.p and remove the last point "start package". . Packaged into a new SYSTEM ROM file
Key point: recovery-from-boot.p This file is not deleted.. Even if the brush RECOVERY partition.. A restart will be restored back to the original system RECOVERY
The fourth step is to run AndrodTool Brush Tool to simultaneously brush the TWRP brush to the recovery partition and package the system ROM to the system partition.
The base address of the RECOVERY partition is: 0x00028000
The base address of the SYSTEM partition is: 0x000B2000
In the "download mirror" where you can perform the brush
The fifth step of this TWRP RECOVERY will be brushed and will not be restored due to restart..
The next step is to install an UPDATE-SuperSU-v2.46.zip package in RECOVERY mode.
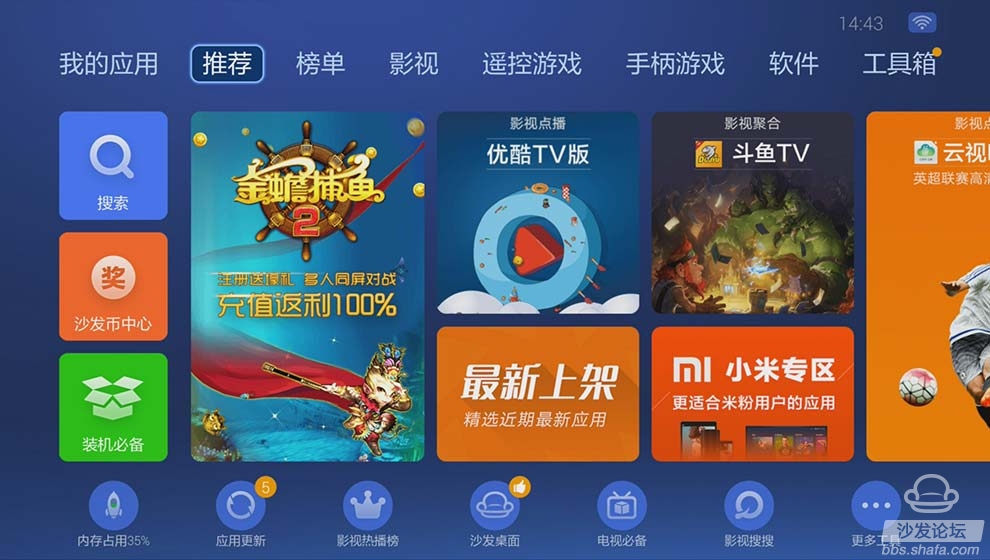
In this way, you will be able to install any third-party software such as: Sofa Butler Download Videos Faster Search More abundant video resources for you to watch!

Instruction Manual
1. Features
Clock display, 10 sets of adjustable timed power control, randomized power control, manual switch and optional DST setup.
2. First time charging
This timer contains a rechargeable battery. It is normal that the new/old model runs out of battery if it wasn`t being charged for a long period of time. In this case, the screen will not turn on.
To charge : simply plug the timer to a power outlet. The charging time should take at least 15 minutes.
If the screen doesn`t light up or displays garbled characters, simply reboot the system by pressing the [RESET" button.
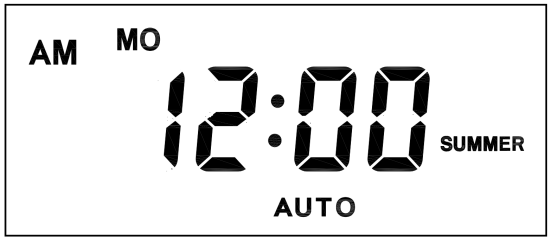
3. Set clock

Hold [CLOCK" button and [WEEK" button to adjust week.
Hold [CLOCK" button and [HOUR" button to adjust hour.
Hold [CLOCK" button and [MINUTE" button to adjust minute.
Hold [CLOCK" button and [TIMER" button to select 12 hour/24 hour display.
Hold [CLOCK" button and [ON/AUTO/OFF" button to enable/disable DST (daylight-saving-time).
4. Set timer
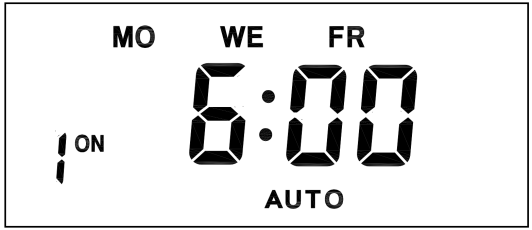
Press [TIMER" button, select and set timer. Setting rotation : 1on, 1off, 2on, 2off, ...... , 10on, 10off.
Press [HOUR" button to set hour for timer.
Press [MIN" button to set minute for timer.
Press [WEEK" button to set weekday for timer. Multiple weekdays can be selected. ex: if selected [MO", the timer will only apply on every Monday; if selected [ MO, WE, FR", the timer will apply on every Monday, Wednesday and Friday.

Press [RES/RCL" button to cancel the selected on or off timer. The screen will show "-- -- : -- --" , the timer is canceled.
Press [RES/RCL" button again to reactivate the timer.

When timers are set, press [CLOCK" to quit timer setting and return to clock.
5. Random function

Press [RANDOM" button to activate random function, press again to cancel function.
System only runs random function when [AUTO" is on.
Random function will automatically start the timer from 2 to 32 minutes after the setting.
ex : if timer 1on was set to 19:30 with the random function on, the timer will activate randomly between 19:33 to 20:03.
if timer 1off was set to 23:00 with the random function on, the timer will activate randomly between 23:02 to 23:32.
To avoid overlapping, make sure to leave a minimum of 31 minutes gap between different sets of timer.
6. Manual control
Displayed features:
ON : socket turns on.
OFF : socket turns off.
AUTO : socket turns on/off automatically via timer.
Manual ON setting
Press [ON/AUTO/OFF" button to switch from [AUTO" to [ON".
This mode allows socket of the device to power up. Power indicator will light up.
Manual OFF setting
Press [ON/AUTO/OFF" button to switch from [AUTO" to [OFF".
This mode turns socket of the device off. Power indicators will turn off.
7. Electrical parameters
Operating voltage : 230VAC
Battery : NiMh 1.2V
Power consumption : < 0.9W
Response time : 1 minute
Power output : 230VAC/16A/3680W
Q&A
Q: Why won`t my timer turn on?
A: It`s out of battery, you can charge the timer by plugging onto any power outlet. Charge the device for at least 15 minutes. Then press [RESET " button to reset the device.
Q: Can I set seconds of the timer?
A: No, the smallest time unit is minute.
Q: Does my timer keeps old settings without being plugged onto a power outlet?
A: Yes, the timer has an internal battery, it allows the timer to save settings without a power outlet.
Q: Is the battery rechargeable?
A: Yes, the battery is rechargeable. We recommend to charge it for 4 hours so the battery is fully charged.
Q: Does the timer needs internet connection?
A: The timer does not need internet.
Q: Does the screen have back light function?
A: It doesn`t support back light.
Digital Timer Socket, Timing Switch Socket, Electronic Timer Socket, Timer Socket
NINGBO COWELL ELECTRONICS & TECHNOLOGY CO., LTD , https://www.cowellsockets.com